
Starting with a thought, a designer can develop an item by identifying with the consumer’s needs or solving a problem, leading to more products being manufactured. There are necessary steps that have to be followed when an idea is being implemented and changed into something real and tangible. These steps, which make up for how products are developed, are very important since they determine how successful you would be with the finished product. So what does it take to change your idea into a product in 7 days? Creating a model i. e. an early-sample that tests how well your solution will work/fit users’ needs is one of the first things. In this article, we will look at different steps professional designers who work at Trailside Creative take to help them come up with great ideas for products.
5 Steps to Turn Your Idea Into Prototype
Before a product hits the shelves, designers need to ensure that it is technically doable for production with CAD and financially sensible for investors and consumers alike. So, they test and refine the prototype. However, how do they create it step by step? Let’s explore how a unique idea turns into a new product prototype!
1. Brainstorm A Clear Prototype Idea
Every unique creation starts with an idea. However, if you have yet to have any solid inspiration in mind, do not fret. Often, it is a gradual process, even for top-notch designers such as Trailside Creative. Start by delving into market research and studying your competitors. Brainstorming with your team can also spark innovative ideas. Above all, ensure that your idea addresses an unmet need or solves a customer’s problem.
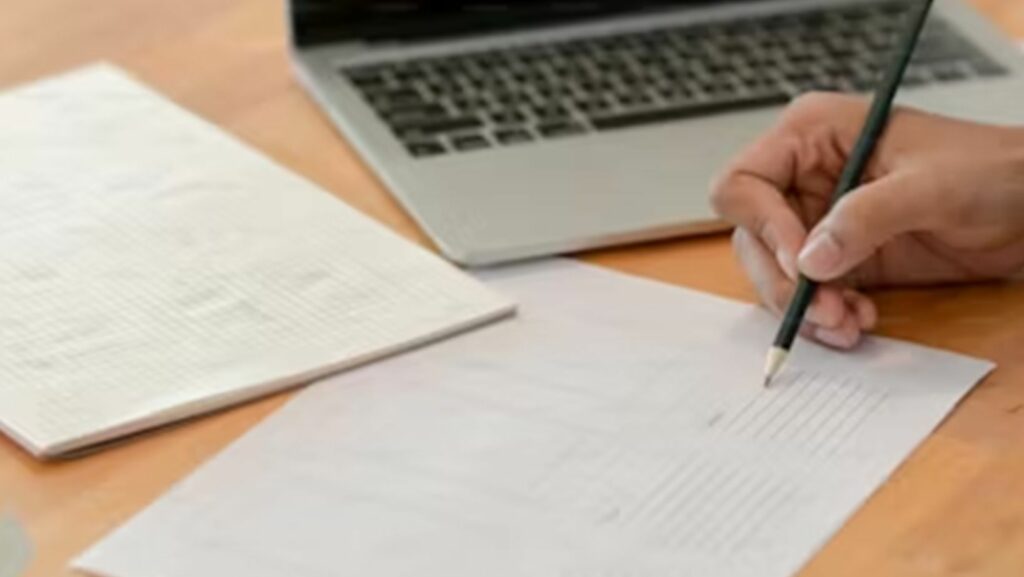
2. Sketching out your Idea
Drawing a rough sketch of your idea helps to visualize and articulate how your product will appear and function. It is a valuable tool for conveying your vision to others and refining your concept. Sketching aids in communicating your ideas and needs to our engineers, ensuring alignment on the product functionality, materials, components, and other specifications. Even a basic sketch accompanied by a brief explanation is enough to kickstart the discussion.
3. Develop a Proof of Concept
After sketching your idea, it is time to build a proof of concept. This demonstrates that the designer can develop the product and outline the process. Additionally, it is an opportunity to test the product and assess its feasibility in real-world conditions. Inventors often seek a patent when they conceive an idea they believe holds promise.

However, this approach may only sometimes be correct. A patent does not automatically safeguard your idea from being copied. If you later discover that your idea is not feasible after obtaining a patent, the substantial investment in patenting could go to waste.
4. Select the Right Engineers or Designers
Once you have outlined your product idea through sketches or descriptions, the designers will transform it into a 3D design concept. Trailside Creative engineers start creating 3D CAD files for manufacturing when the design is finalized. An electronics engineer will design a custom PCB for electronics products. Designers craft a tech pack containing fabric cut and sew patterns for textile-based products. Therefore, it is crucial to identify the type of designers and engineers required for your specific product. Look for designers who possess manufacturing expertise. This process ensures that your product looks good and can be manufactured cost-effectively with minimal flaws.
5. Create a Product Prototype
After conducting thorough research and confirming the viability of your product, it is time to develop a physical prototype. This prototype should closely resemble, if not exactly match, the final product you intend to bring to market.

There are various prototyping methods available. 3-D printing is cost-effective but may need more durability and functionality. On the other hand, CNC prototyping produces nearly perfect, functional replicas of the product. To validate design decisions before mass production, real users must be involved in testing the prototype to identify potential issues. After refining the physical prototype and resolving all issues, you can build a production-ready prototype that aligns with your budget.
Conclusion
To make your dream come true, you must work effectively with trusted designers such as Trailside Creative so your project about new item development goes well. It doesn’t matter if you’ve never run a business before or if it’s not your first rodeo–getting the right designer on board is always tricky. Chances are high that you haven’t yet had any previous experiences working alongside design experts or top consulting agencies; however, these kinds of partners play a crucial role in determining how smooth-sailing things will be from now on (and even afterwards). They influence key factors such as how much money can be raised through investors or crowdfunding platforms and what the production results might look like too! This means that for some people investing into these types of relationships might end up being more costly than they initially thought especially when returns are json which isn’t guaranteed plus lots risks involved too. Hence, it’s better off finding individuals.
More Stories
Smart Investment Strategies: Building Wealth the Right Way
How Trump’s Tariffs Have Knocked the Gambling Industry
The IT Efficiency Revolution: How Strategic Technology Management Creates Business Value