
You’ve got a great photo. Maybe it’s a screenshot from your latest video, a product shot, or just a random picture you took on your phone. Now imagine being able to feed that image into an AI model and get back a completely new, polished visual. It has the same vibe, but is totally transformed. That’s image-to-image generation, and if you’re a content creator, it’s about to become your new best friend.
Let’s break down what it is, how it works, and how you can actually use it to level up your content game.
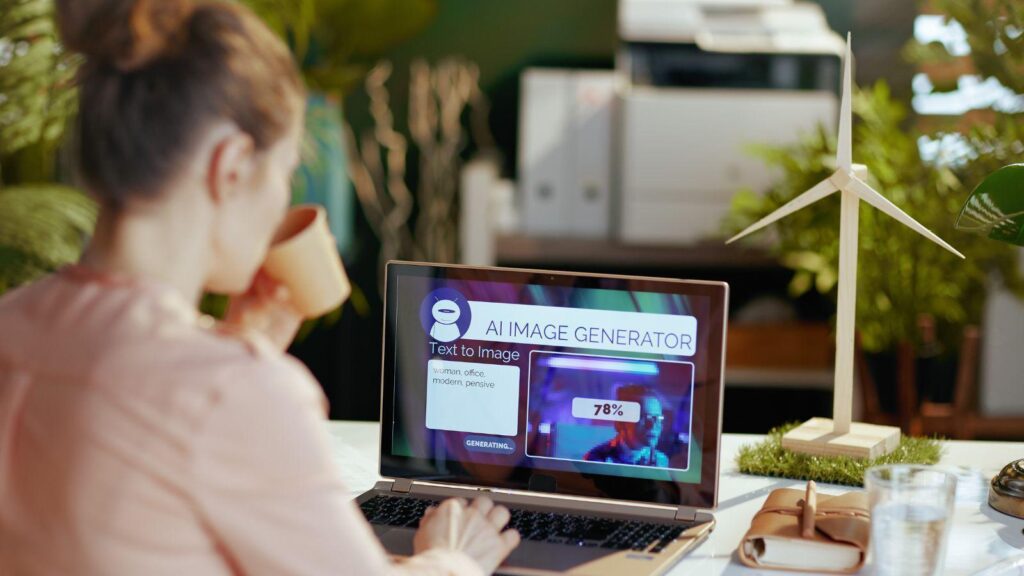
So, What Even Is Image-to-Image Generation?
Unlike text-to-image AI (where you type a prompt and get a picture), image-to-image generation starts with an existing photo or visual as its base. You upload an image, give the AI some direction through a text prompt, style settings, or both, and it uses that original image as a reference to create something new.
Think of it like giving an artist a rough sketch and saying, “Turn this into a cinematic movie poster.” The structure, composition, or color palette of your original image guides the output. You’re not starting from scratch; instead, remixing and elevating what you already have.
Why Should You Care As a Content Creator?
Right now, creators are using AI image generator from image as a practical production tool, not just something experimental. The biggest shift is how it helps turn one image into multiple usable assets quickly.
For content creators and YouTubers, it’s often used to upgrade thumbnails. A basic image can be transformed into several high-impact variations with different lighting, colors, or styles to test what gets more clicks. On social media, creators restyle visuals into trends by turning a normal photo into anime, cinematic, or stylized edits to stand out in crowded feeds.
In marketing and e-commerce, brands are using it to generate multiple versions of the same product image. Instead of organizing new photoshoots, they can place products in different environments, moods, or themes, making campaigns more scalable and cost-effective.
Designers and artists are using it to speed up ideation, converting rough sketches into polished visuals or experimenting with different creative directions without committing to one.
Overall, image-to-image AI is becoming a content multiplier, helping creators produce faster, test more ideas, and maintain visual consistency across platforms without starting from scratch every time.
How to Generate an Image From Image
Now that you know how creators are using it, here’s the general workflow across most AI image models that support this feature:
1. Go to the AI Toolkit
Start by opening the AI toolkit and navigating to the image generation section. Select the image-to-image option and upload your reference image. This will act as the base that the AI builds on, so choose a clear, high-quality image for better results.
2. Choose Your Model
Next, pick from the available AI image generator models like Nano Banana Pro, GPTImage, Flux, Seedream, etc. Each model has its own strengths. Some focus on realism, others on stylized outputs. So choose one that matches your goal.
3. Write Your Prompt
This is where you guide the transformation. Describe exactly what you want to change, like the style, lighting, background, mood, or composition. For example: “Turn this product photo into a cinematic scene with soft golden lighting, shallow depth of field, and a luxury studio background.” You can also use an auto-prompt feature that most AI image-to-image tools offer to generate a starting point and refine from there.
4. Adjust Other Settings
Before generating, fine-tune key settings (if available). For instance, select the aspect ratio (like 16:9 for YouTube or 1:1 for social media) and choose how many variations you want (usually 1 to 4 images). These options help you control output format and variety.
5. Generate and Download
Once everything is set, generate your image. The AI will process your input and produce results within seconds. You can download the final output or tweak your prompt and settings to regenerate improved versions until you get exactly what you need.
Tips to Get Better Results
- Use clean, well-lit source images. Blurry or cluttered originals make it harder for the AI to produce clean outputs.
- Be descriptive in your prompts. Mention lighting, mood, art style, and color palette.
- Iterate fast. Generate in batches and pick the best one rather than obsessing over a single output.
- Control what to change vs. what to keep. Clearly specify if you want to preserve the subject, composition, or just modify the style to avoid unwanted transformations.
- Test different models. Each model interprets prompts differently, so switching models can significantly improve results depending on your goal.
Wrapping Up
Image-to-image generation isn’t just a cool trick anymore. It’s a legitimate workflow upgrade for anyone serious about content creation. Whether you’re trying to make scroll-stopping thumbnails, build a consistent visual identity, or just save time on graphic design, this tech genuinely delivers.
The best part? You don’t need to be a designer. You just need a good source image, a clear vision, and a willingness to experiment. Start with something you already have, give the AI a direction, and watch what it can do.
Your next great visual might already be sitting in your camera roll.
More Stories
Top Remote Support Software Tools With Background Device Access
Leading UK Companies Helping Businesses Implement AI
Trendy Blouses That Suit Every Occasion — 5 Must-Have Styles from Blouses Penningtons