
Videos look better when they have smooth transitions. Choppy cuts can make a video feel rushed or unprofessional. The right transitions help scenes flow together. They make videos more polished and engaging.
Adding simple transitions can improve any video. They guide the viewer’s eyes from one scene to the next. They also keep the video from feeling dull or confusing. A well-placed transition can make a big difference.
It helps tell a story, explain an idea, or keep people watching. To add transitions, you need a good video editing tool. CapCut PC is a popular choice. It is easy to use and has many tools to improve videos.
While the CapCut desktop video editor has free features, some advanced tools require payment. Still, it is a great option for anyone who wants to create smooth, professional videos.
Why Use Transitions in Videos?
Enhancing Storytelling
Transitions help connect scenes smoothly. They guide the viewer from one moment to the next. Without them, videos can feel choppy or disconnected. A good transition makes the story flow. It keeps the audience focused.
For example, imagine a travel vlog. You show a sunset at the beach. Then, you cut to a busy city street. A crossfade transition makes this shift feel natural. It blends the scenes instead of making them feel abrupt. This helps tell a better story and keeps the audience engaged.
Keeping Viewers Engaged
Videos with rough cuts can feel rushed. They distract the viewer. Sudden jumps between clips can break the flow. This makes it harder to stay engaged.
Smooth transitions fix this problem. They guide the eyes from one scene to the next. They also create a rhythm. This makes the video feel polished and professional.
Adding subtitles can also help. An AI caption generator makes this easy. Captions keep viewers engaged, especially those watching without sound. When paired with smooth transitions, they make the video more effective.
Creating a Professional Look
Professionals use transitions to make their videos stand out. Without them, even great footage can look unpolished. Transitions add a layer of refinement. They make simple content look well-produced.
A well-placed transition can turn a basic video into something more cinematic. It helps control the pacing and mood. Whether it’s a fade, cut, or slide, the right transition makes a big difference. It ensures a smooth, high-quality experience for the audience.
Finest Simple Transitions to Use
- Cut Transition
A cut is the simplest transition. It moves from one scene to the next without any effect. This works best for fast-paced videos, like action clips or vlogs. Cuts keep the energy high and the story moving. If overused, they can feel abrupt. Use them to keep things natural.
- Fade In & Fade Out
Fades help soften the beginning or end of a scene. A fade-in slowly brings a scene to life, while a fade-out makes it disappear. This works well for emotional moments, introductions, or endings. It adds a polished feel to videos. If done right, it makes transitions smooth and seamless.
- Crossfade (Dissolve Transition)
A crossfade blends one clip into another. It works well for storytelling, music videos, or emotional scenes. Instead of a hard cut, the images merge for a second. This makes the shift feel smooth and connected. It’s great for showing time passing or linking similar ideas together.
- Slide Transition
A slide transition moves one scene off-screen while bringing in the next. This effect works well for presentations, tutorials, and travel videos. It adds a sense of movement and keeps viewers engaged. When used correctly, it guides the audience smoothly from one part of the video to another.
- Zoom Transition
A zoom transition pulls the viewer in or out of a scene. It’s great for social media content, energetic videos, and creative storytelling. Zooming in adds focus, while zooming out reveals more. This transition makes videos feel more dynamic and visually interesting without being overwhelming.
- Spin Transition
A spin transition rotates the screen as it moves from one clip to another. This effect is playful and high-energy. It’s best for sports videos, dance clips, or fun edits. When used sparingly, it can make a video feel exciting. Too much, however, can be distracting.
How to Add Transitions Using CapCut Desktop Video Editor
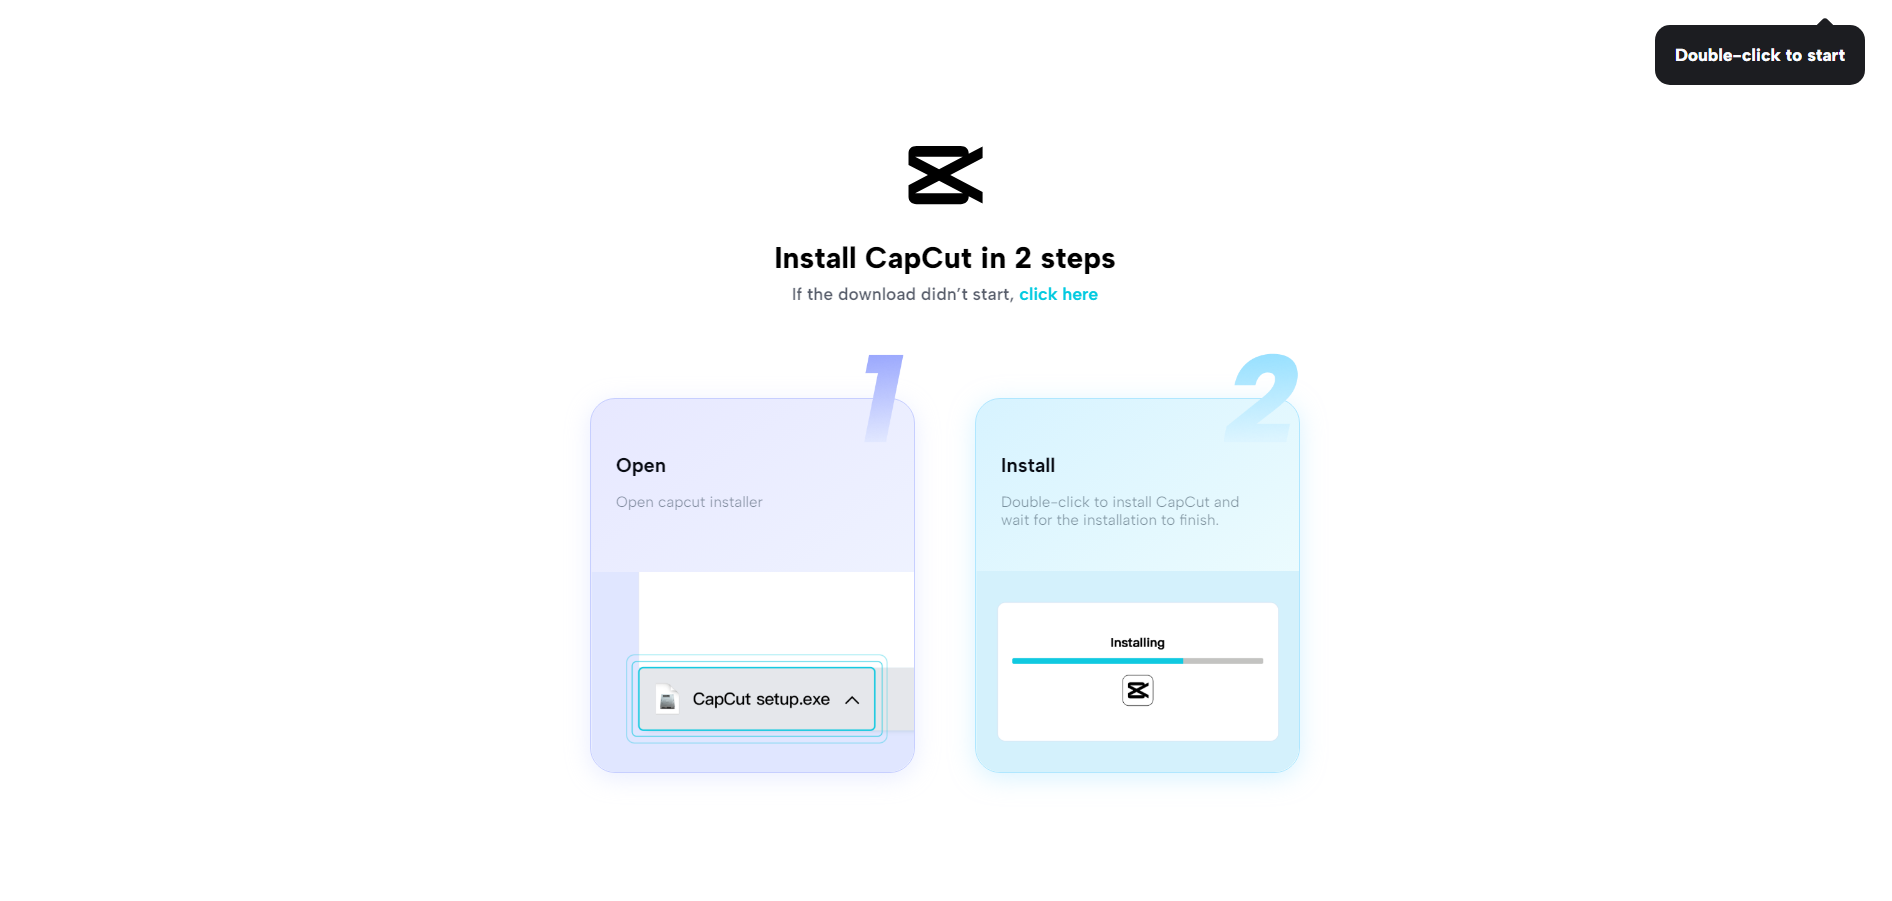
Step 1: Download and Install CapCut Desktop Video Editor
First, go to CapCut’s official website and download the software. Once the download is complete, open the installer and follow the on-screen steps. The process is quick and easy.
After installation, open CapCut desktop video editor and create an account. This gives you access to all editing tools. While CapCut PC is free to download, some advanced features require payment. If you want to use extra effects or export to higher quality, you may need to upgrade.
Once your account is set up, you are ready to start editing. Let’s move to the next step.
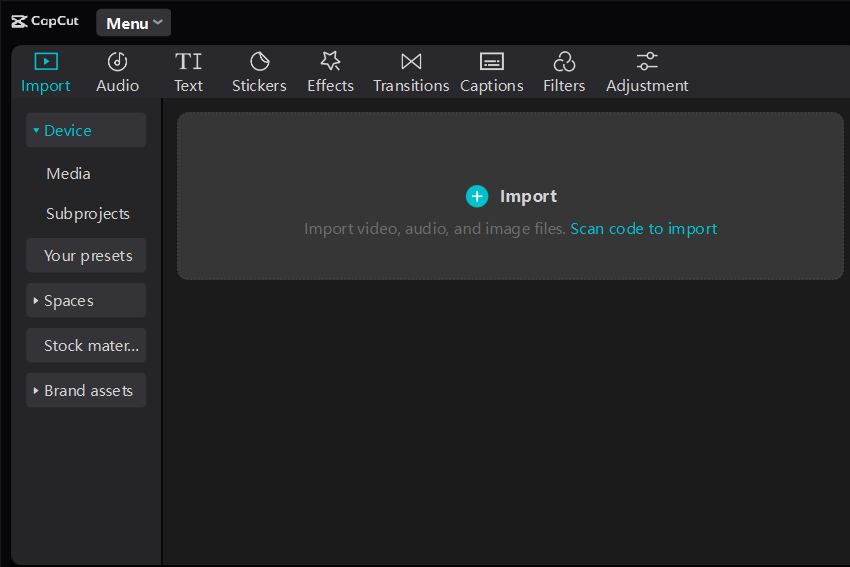
Step 2: Import Your Video Clips
Open CapCut PC video editing software and add the video clips you want to edit. Click “Import” and choose your files. You can add multiple clips at the same time.
Next, drag the clips to the timeline in the correct order. This helps create a smooth sequence. If your video needs subtitles, you can use an AI caption generator to add them automatically. This helps people understand your content better.
Once your clips are arranged, you are ready to apply transitions. Let’s see how to do that.
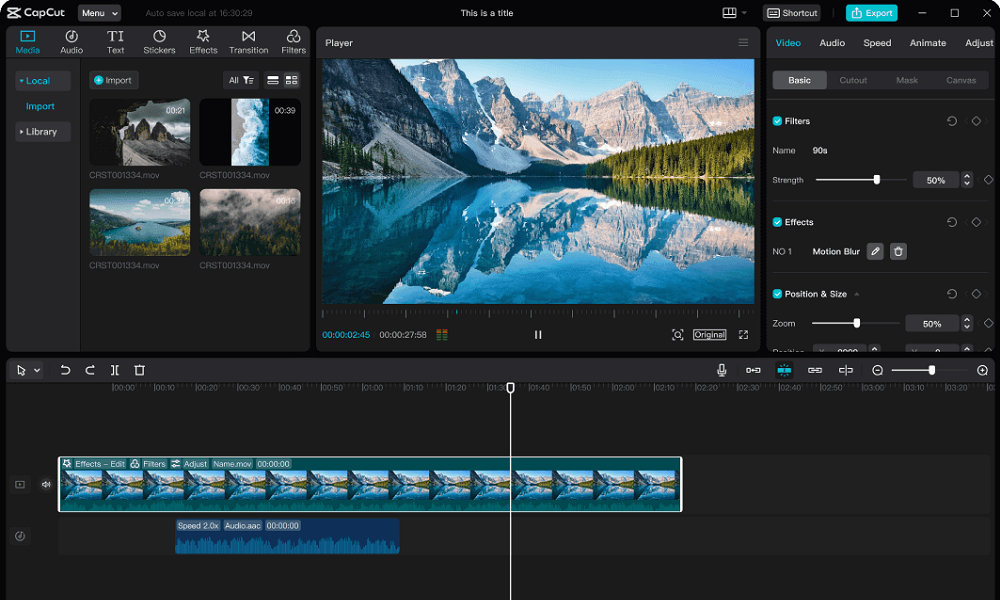
Step 3: Apply Transitions
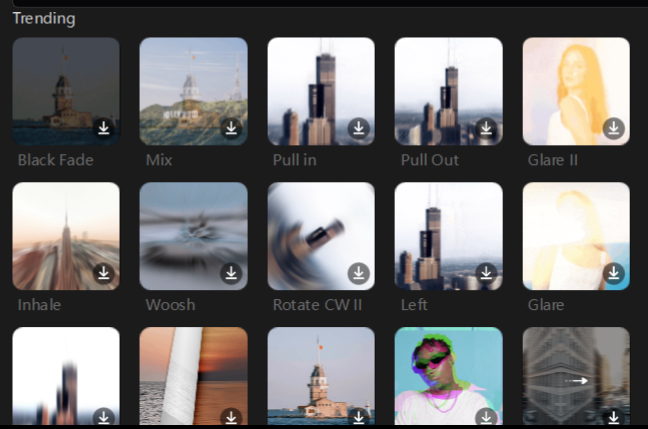
Click on the “Transitions” tab at the top. Here, you will find different transition effects. Browse through them and pick the one that fits your video.
To add a transition, drag it between two clips on the timeline. You will see a preview of how it looks. Test different options to find the best one.
After adding transitions, you can adjust their duration to match your video’s pace. Now, let’s fine-tune the details.
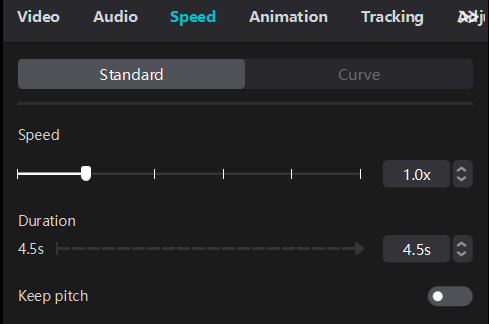
Step 4: Adjust and Customize Transitions
Click on the transition effect in the timeline. You will find options to adjust its speed and length. Adjust these settings to make the transition smooth.
Keep it natural and avoid overusing effects. Too many transitions can make the video look distracting. Once you are happy with the changes, it’s time to save your work.
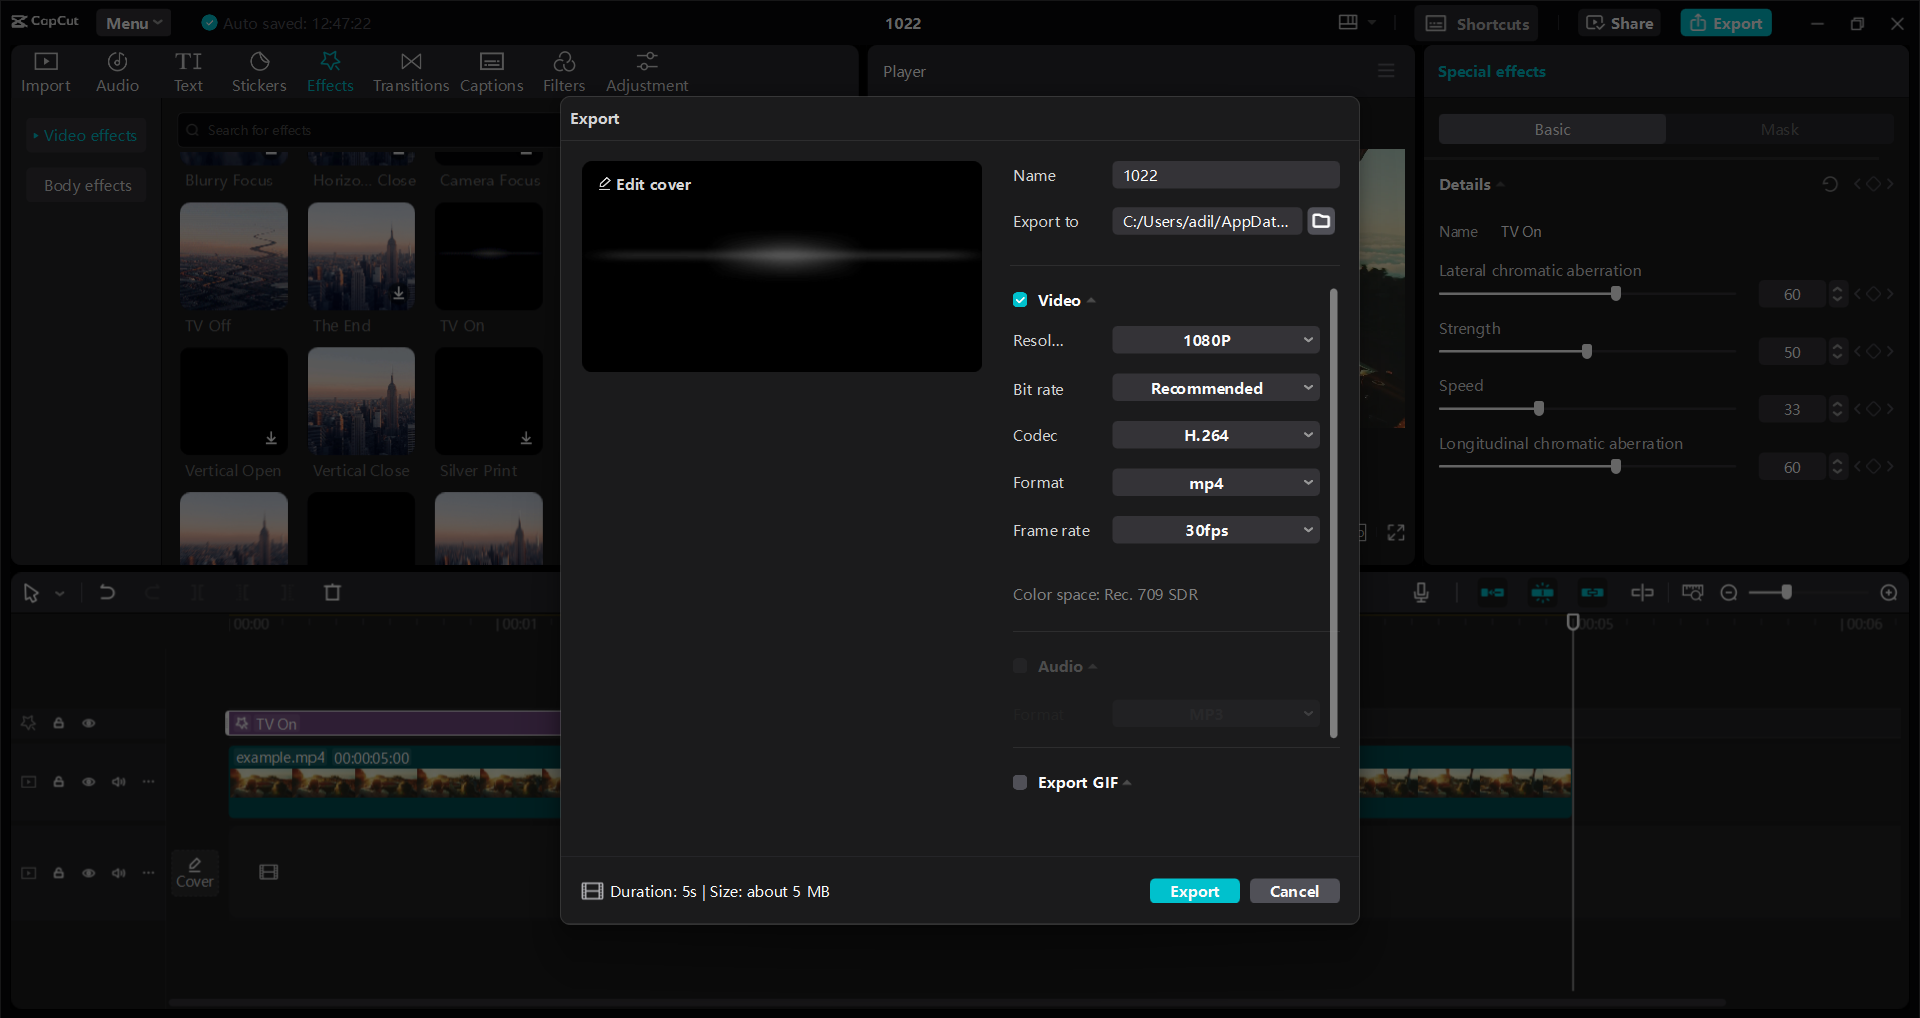
Step 5: Export and Share
Click the “Export” button to save your video. Select the resolution and format that suit your needs.
After exporting, share your video on social media or other platforms. If you need a voiceover, use a text-to-speech tool to add narration. This makes your video more engaging.
Conclusion
Using simple transitions can make your videos look smooth and professional. They help connect scenes, keep viewers engaged, and improve the flow of your content. Without good transitions, videos can feel choppy and distracting.
CapCut desktop video editor is a great tool for adding transitions. It makes editing easy and quick. But keep in mind that some advanced features require payment. Still, it offers many useful tools that can improve your videos.
Now is the perfect time to start experimenting with transitions. Try different styles to see what works best for your content. A well-edited video can grab attention and leave a lasting impact. So, give it a try and take your videos to the next level!
More Stories
An Analysis of Consensus Mechanisms and State Synchronization in Distributed Ledgers
Why Keeping a GSA Contract Current Is Just as Important as Winning It
The Role of Alternative Assets in Portfolio Construction